11 February 2014

UFCP - Part Deux

I had started to build my Up Front Control Panel (UFCP) almost a month and a half ago. But, then I got digressed with building other 'easier' parts of the pit.

UFCP, along with the HUD control panel and the UFCP Control Panel, is the single most complicated piece of equipment on the Front Instrument Panel.

Exactly a week back, I re-started to build the UFCP. Finished it today.

I'm fairly happy with the way it has turned out. 

It was such a fun experience, building this piece of hardware, that I forgot to take many pictures of the build. 

Did a small test flight earlier today. It's amazing, how much of a difference this one single part has made, to my overall virtual flying experience. Tested out the Autopilot, IFF, Tacan and ILS functionality over different airport in close vicinity, and also over the boat. The experience was pure exhilaration. 


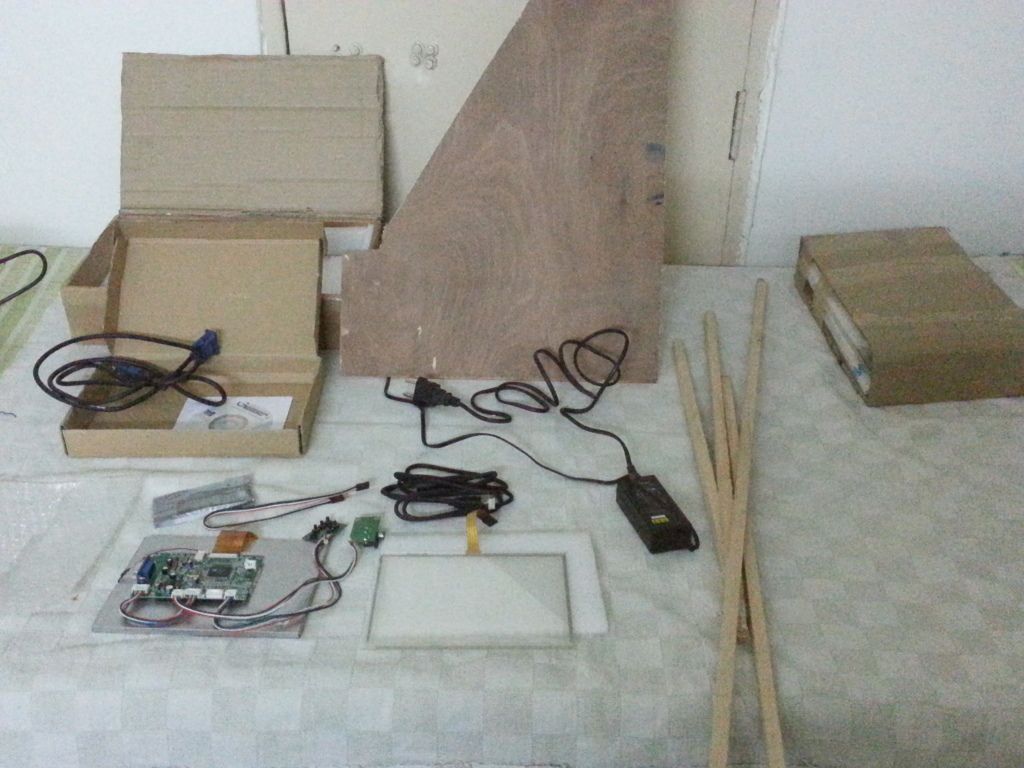
The 8" monitor & the 4-Wire Touch Panel Kit.
Piece of 5mm sheet of plywood and 5mm Square Soft Wood for the fabrication

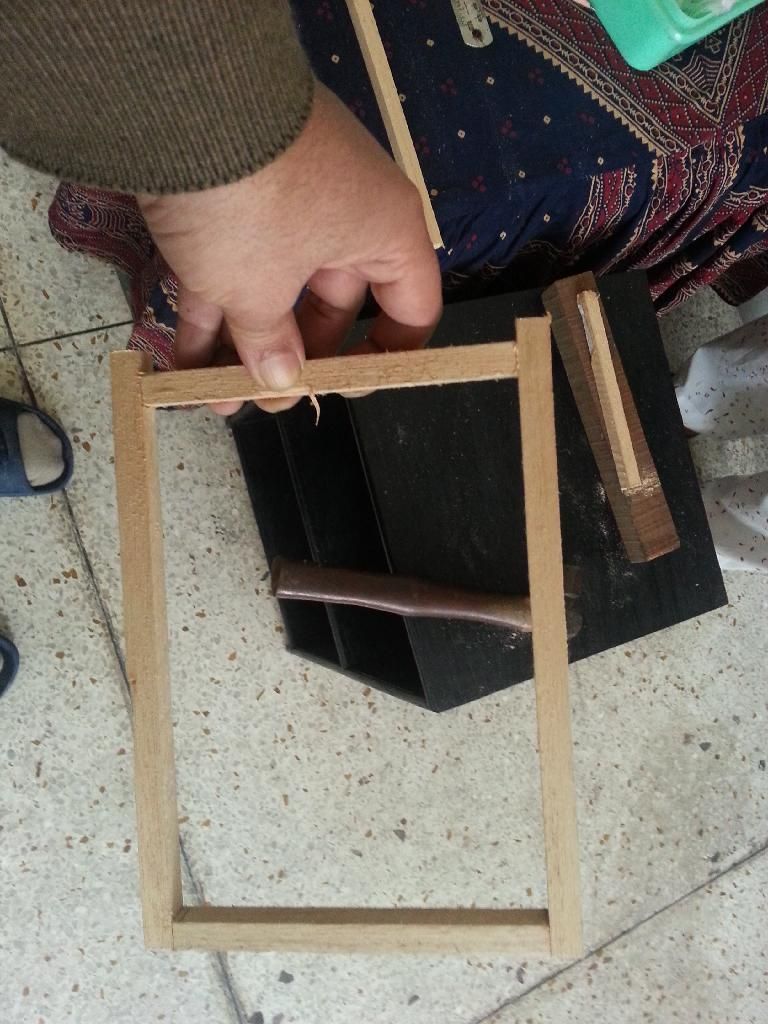
Starting with the structure

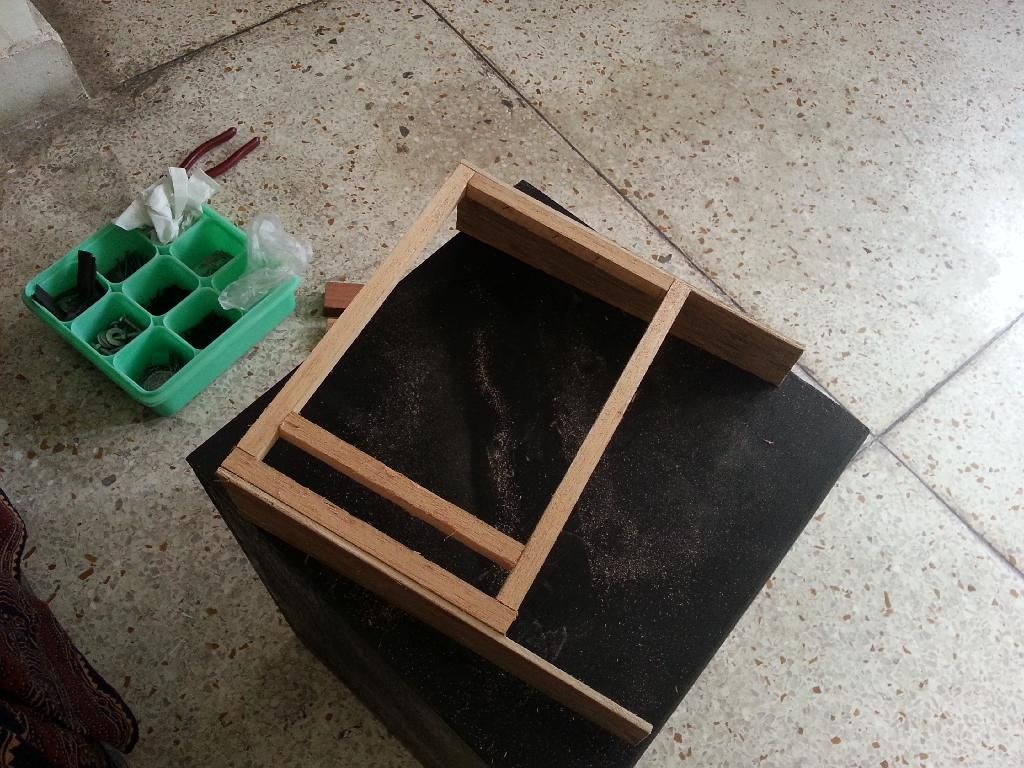
Front Facade is beginning to shape up.

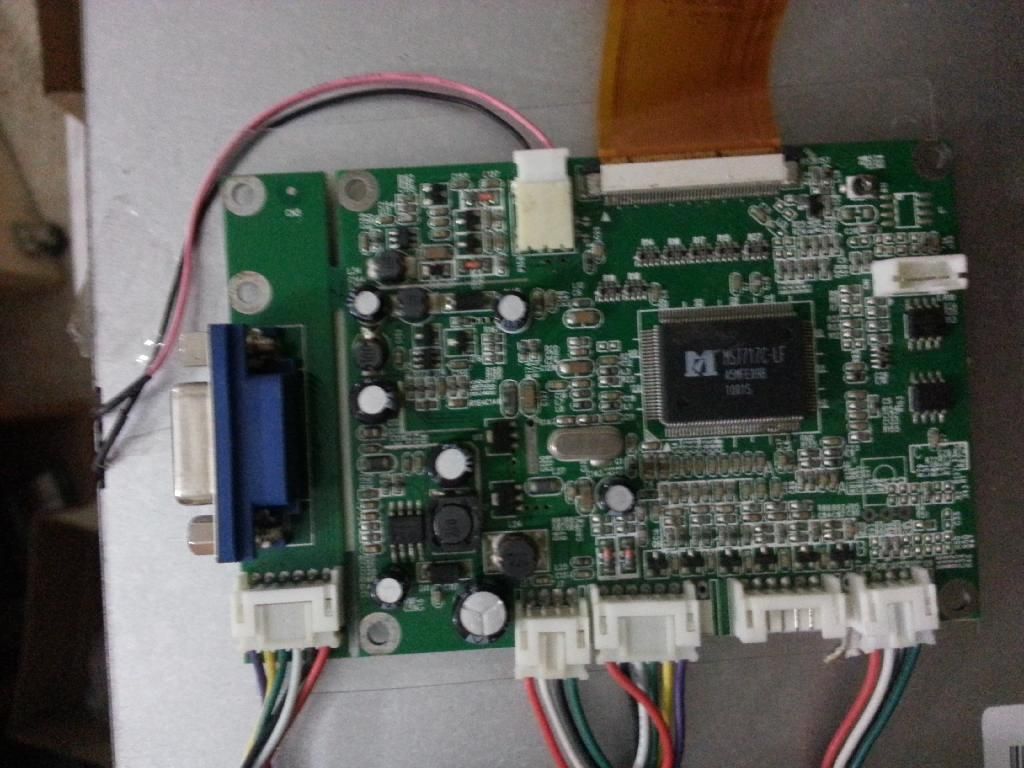
VGA Driver board for the 8" Pal/NTSC Monitor.
Had to cut the extension of the PCB where the VGA connector is mounted,
to facilitate the relocation of the connector.

This is one of the iterations of the 'internals'. Had to break and rebuild the internals quite a few times.
Each time, one or the other component would butt/interfere or the 'feel' would just not be right.

By the time I was eventually done with it, the internals didn't look anyway like this at all. But, I totally forgot to take any pictures. This is one of the last pictures I had remembered to take.

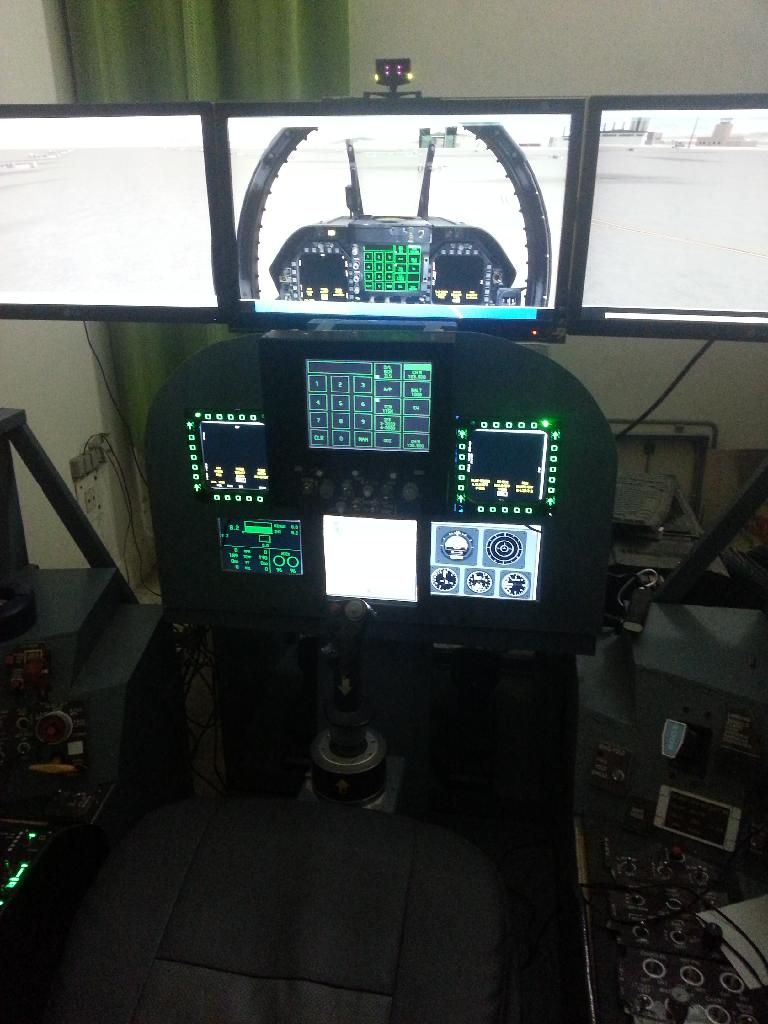
UFCP completed, all wired up, and mounted on the Front Instrument Panel.
I had some issues in correctly configuring the 'Touch Panel Driver',
but, when it eventually fired up, it was "awesome".

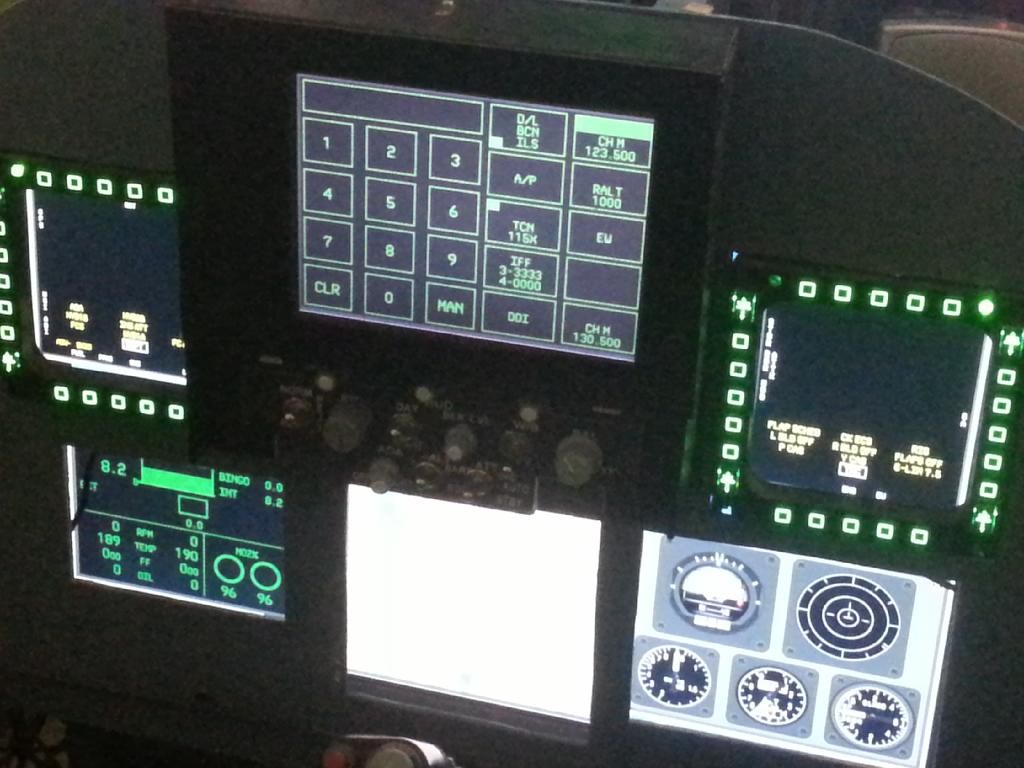
A close up view of the UFCP.
I'm yet to wire up the UFCP Control Panel for backlighting (though the lights are already mounted), but overall, this is now a fully functional UFCP.

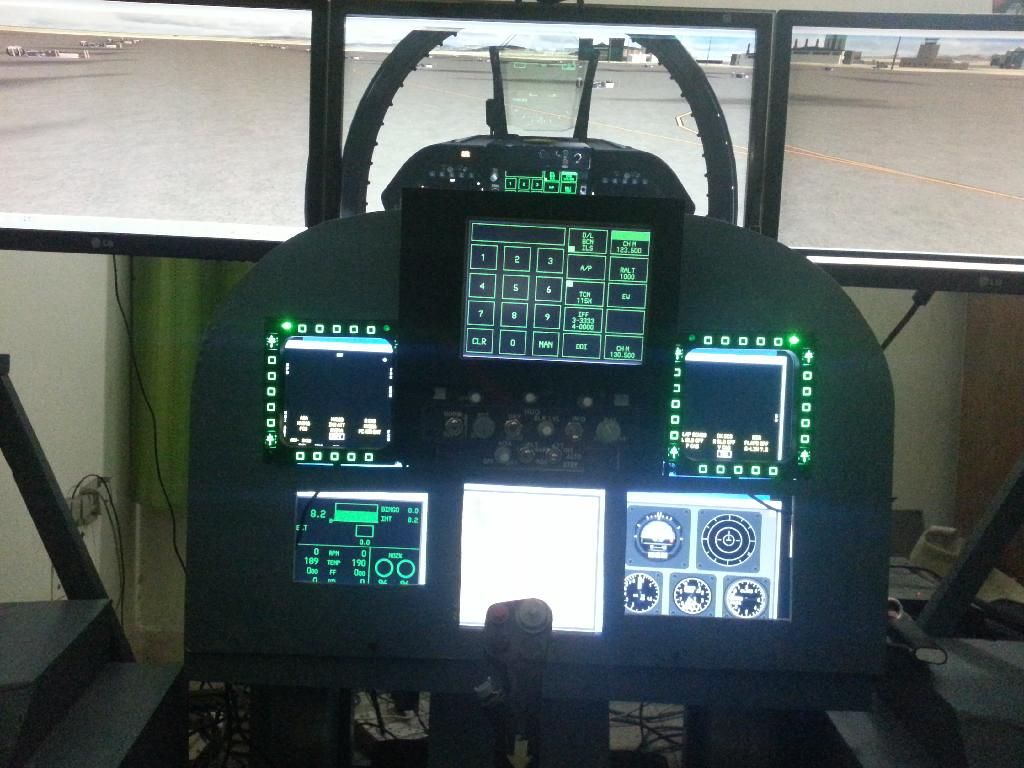
Ha!!
My daughter says, it's finally beginning to look like a 'pit'.

You bet!

I'm planning to spend the coming weeks in finishing up the Front Instrument Panel. There is loads of work to make the Master Arm Panel, Sel-Jett/Flaps/Gear Panel, Spin Recovery Panel, Control Panel for EFD, Facia for Standby Instrument Panel cluster and mother of all, the Left/Right Annunciator Panels.

Continue to look forward to the coming weeks!!!

05 February 2014

Teensy ++2.0

I had purchased a total of four Leo Bodnar's BU-0836X Input Boards and one Phidget LED 64 Advanced Output Board.

Last two weeks of wiring up my pit, and I could see that I am going to run out of available Input/Output ports on all my boards put together. 

Considering each BU0836X provides me with 32 Digital Inputs + 8 Analog Inputs and the Phidget board provided me with 64 Digital Outputs, that is a LOT of I/O ports. But, I have managed to most of them. 

It's a bad design, if I consume all available ports. It's good maintenance practice, to leave a few ports (5-10%) free on each board, for future expansion of the pit, to cater for ports going bad, to cater for later design changes in the pit, and to cater for any unforeseen eventuality with the pit. 

Unfortunately, Leo Bodnar's site has run out of BU0836X and replenishment is likely to take time. Lead time to order the Phidget board from USA is a couple of months for me, and I'm not prepared to wait that long to finish the pit.

Also, both the aforementioned alternatives were (relatively speaking) expensive options. I had been looking for slightly inexpensive options also. 

Discussion on the hornetpit forums, led me to investigate and evaluate the Teensy ++2.00 boards. These boards primarily work in Arduino environment but, using a 'Generic HID' tool, these boards can be configured for Input AND also Output. At about 2,500 Indian Rupees, they are very affordable also. Each board provides 46 Digital I/O pins, 8 Analog pins and 6 PWM pins. Isn't that awesome!!!


A little googling and I found that two online Indian stores were able to supply these boards (Rhydolabz and Fab to Fab). Both of them and one each of these boards in stock. I ordered at both the sites. Both the boards arrived today.

I'm really surprised how "small" they are. I mean, compared to Leo's boards or the Phidgets, these things are tiny. The form factor is smaller than a credit card. Soldering the pins is going to be a job in itself.

Now, off to learn how to program these boards with Generic HID. 

Will post how it pans out.