 |
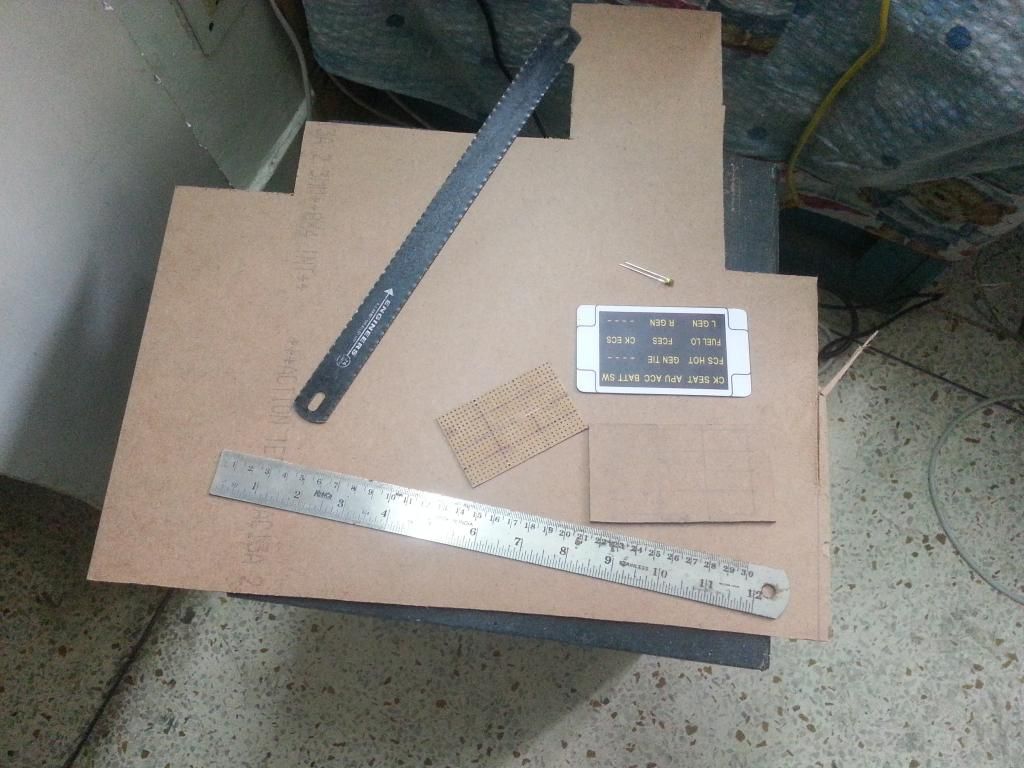
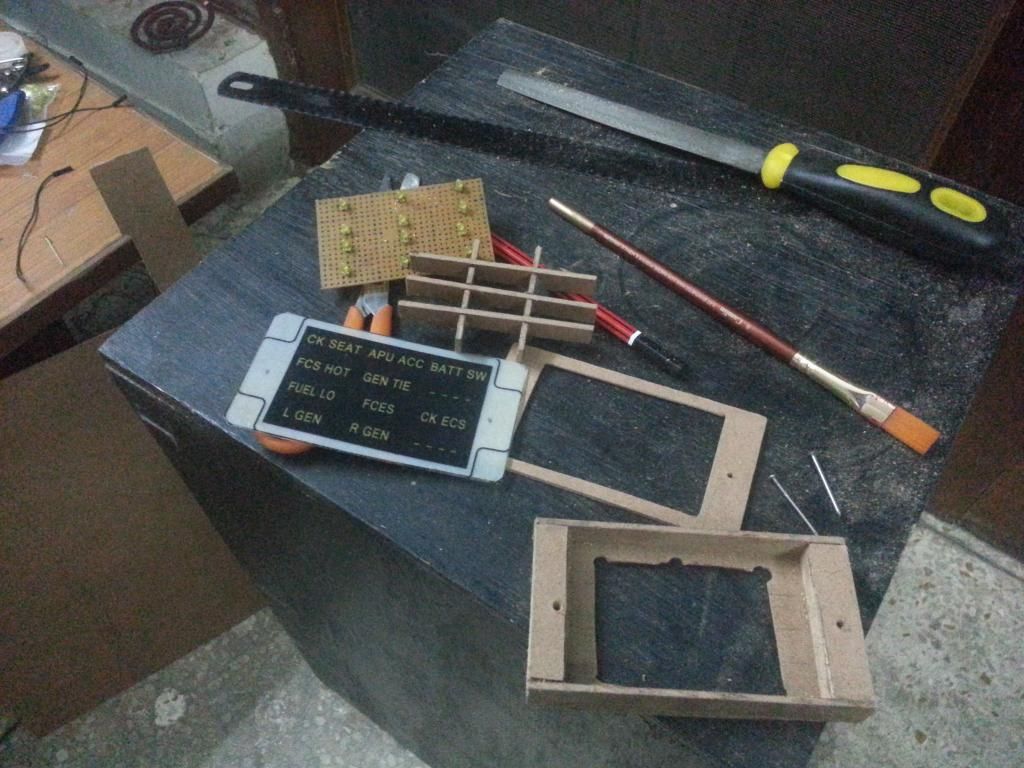
| The base material to fabricate the MCP is 2mm thick MDF Printed out a copy of the front facia and used it for measurements of width & height. Used the LED mounted on the PCB to assess the thickness of the panel |
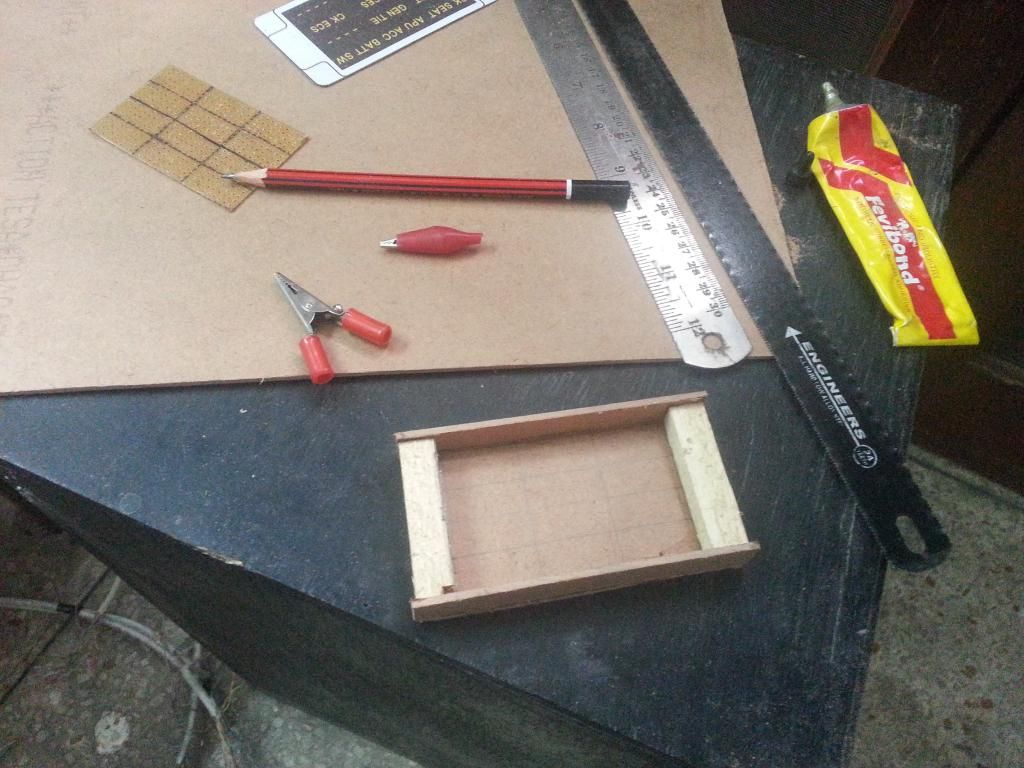 |
| The first cut |
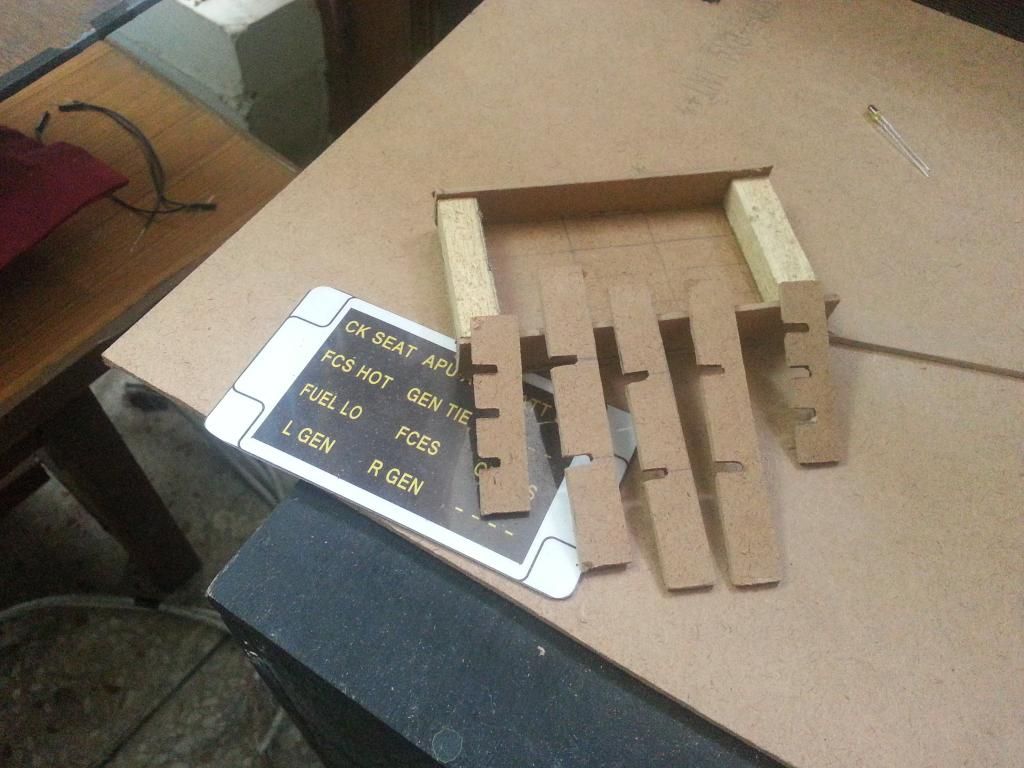 |
| The spacers are to 'box-in' the light from LED to the intended annunciator |
Making sure it all 'fits-in' correctly, before I finalize the build.
It does.
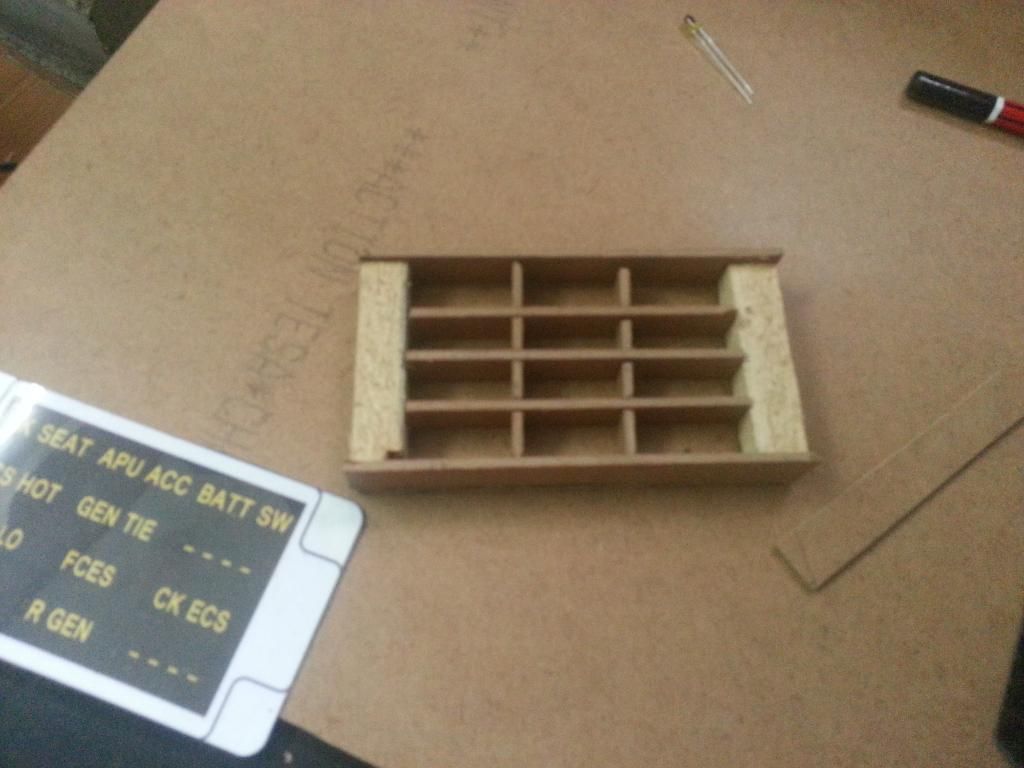
The base structure complete, front facia complete.
Soldered the LEDs to the PCB and correct spacing.
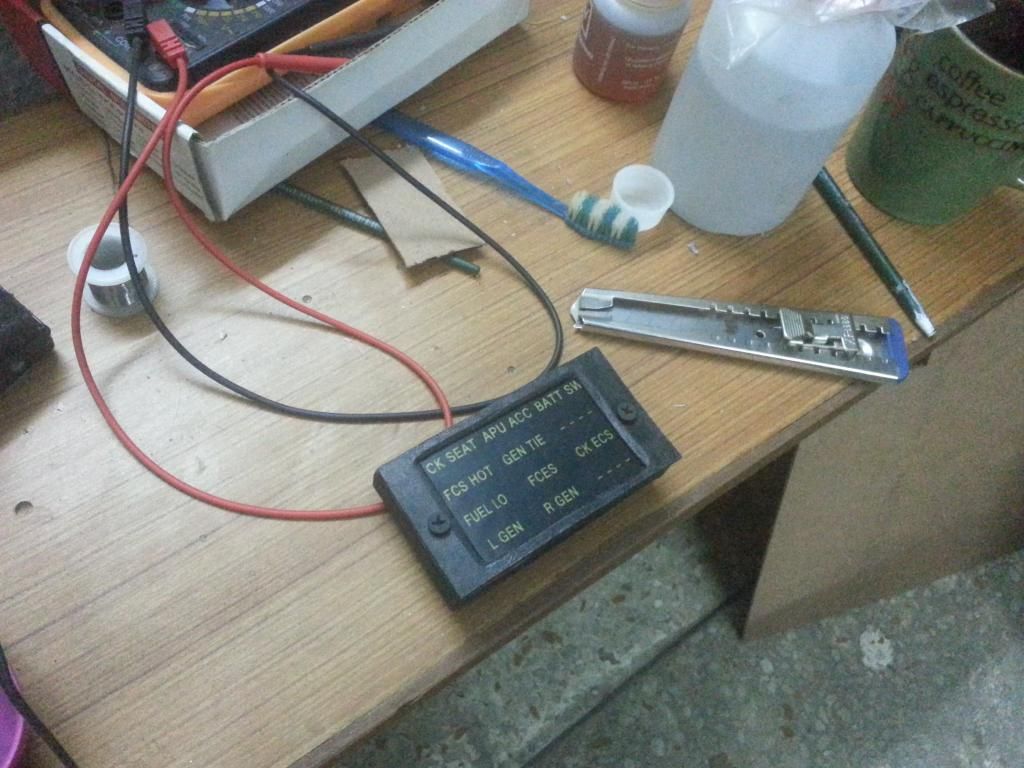
Ran into a glitch. Though the back face of the MCP had holes drilled in to accommodate the LED leads going out, but when I was testing the fit, I noticed the holes were not aligned correctly. So, had to make a cut-out, so that the PCB could fit easily. It wasn't planned this way, but, eventually turned out okay.
Painted all the parts with acrylic quick dry paint, and assembled the unit.
Tested out all the LEDs, again.
The annunciator front plate is laser printed on a transparency paper. During my initial tests, I had seen that too much light shown through a transparency paper and the overall effect was not very pleasing to look at. An additional layer of a cream translucent plastic sheet was added behind the transparency paper, and LED spacing (depth) was increased a shade, the effect comes out as intended.
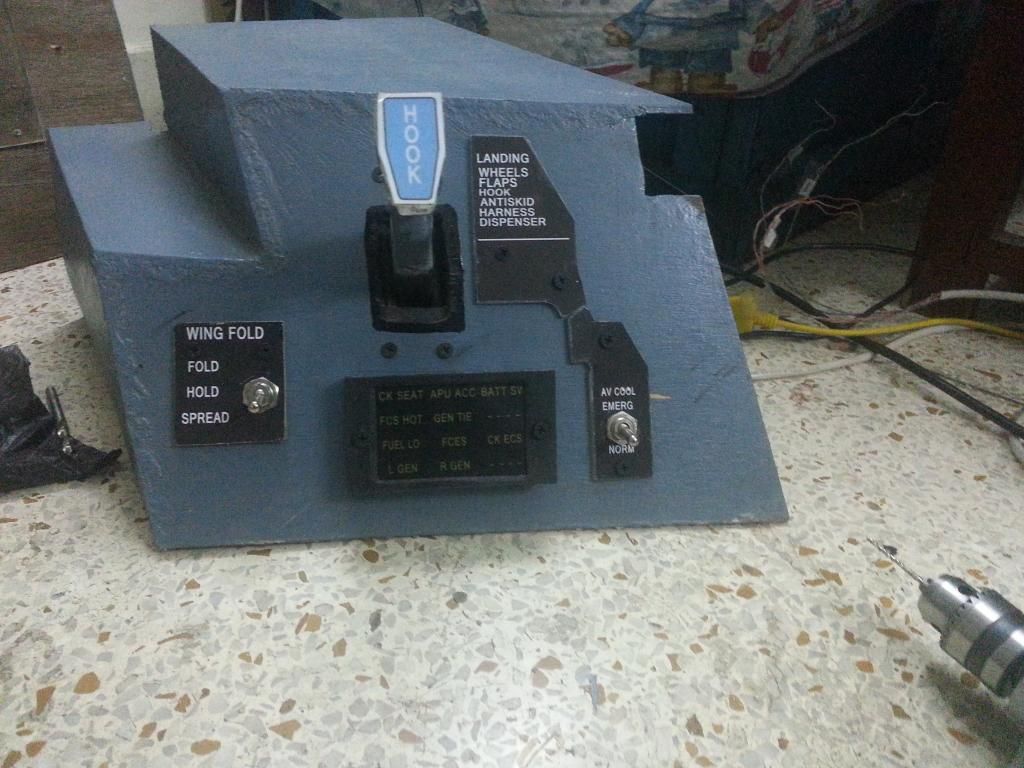
Assembled the MCP on the Right Upper Console.
Still have another day left in the weekend. Will use it to make the harness (cable loom) for the MCP, and the remaining switches of Right Upper Console.
I thought, the Right Upper Console was completed today. Only noticed it now, that I still need to make a BUNO identification plate, a switch guard for the Wing Fold Switch, and a Hook Light.
Phew!!!!
This pit is never going to be complete.
No comments:
Post a Comment