Been experimenting with building the "Left Lower Console" for the last few days.
The reason I use the word 'experimenting' is because, till I started to 'cut' my panels, I was quite certain about the way I was going to build my panels. But, a related discussion with Wayne and Metro on "hornetpit" forums, have made me to review my plan. The complete discussion is at this thread (you will need to be logged in to view).
Anyways, what I have already achieved, is as per my original plan.


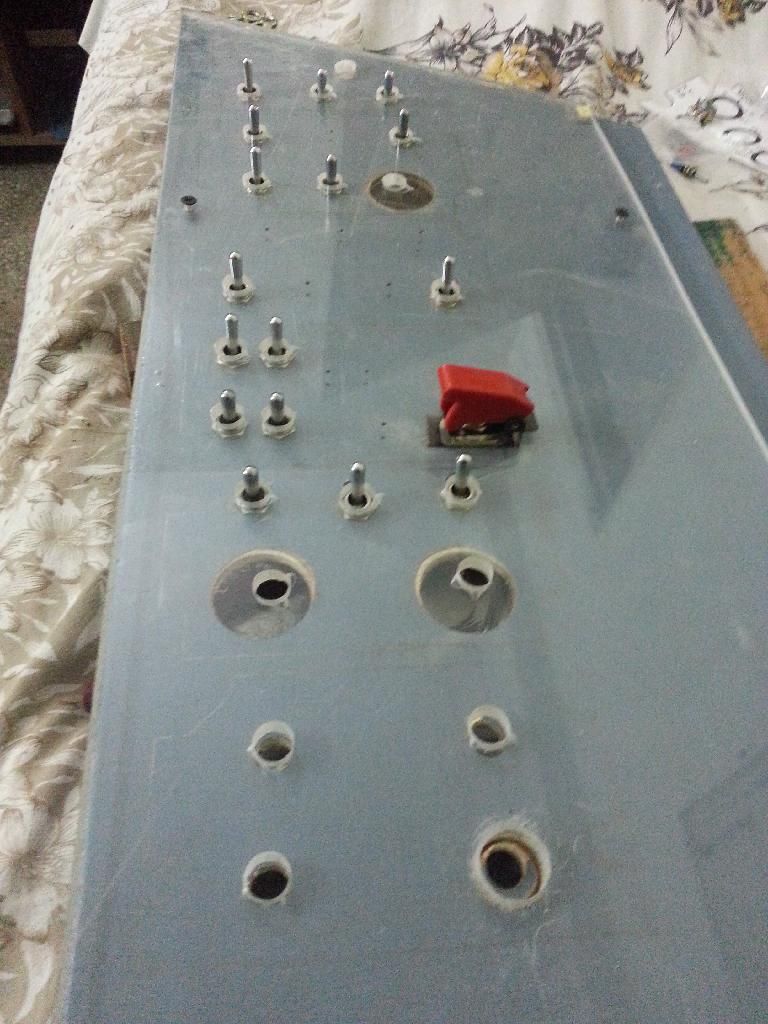 |
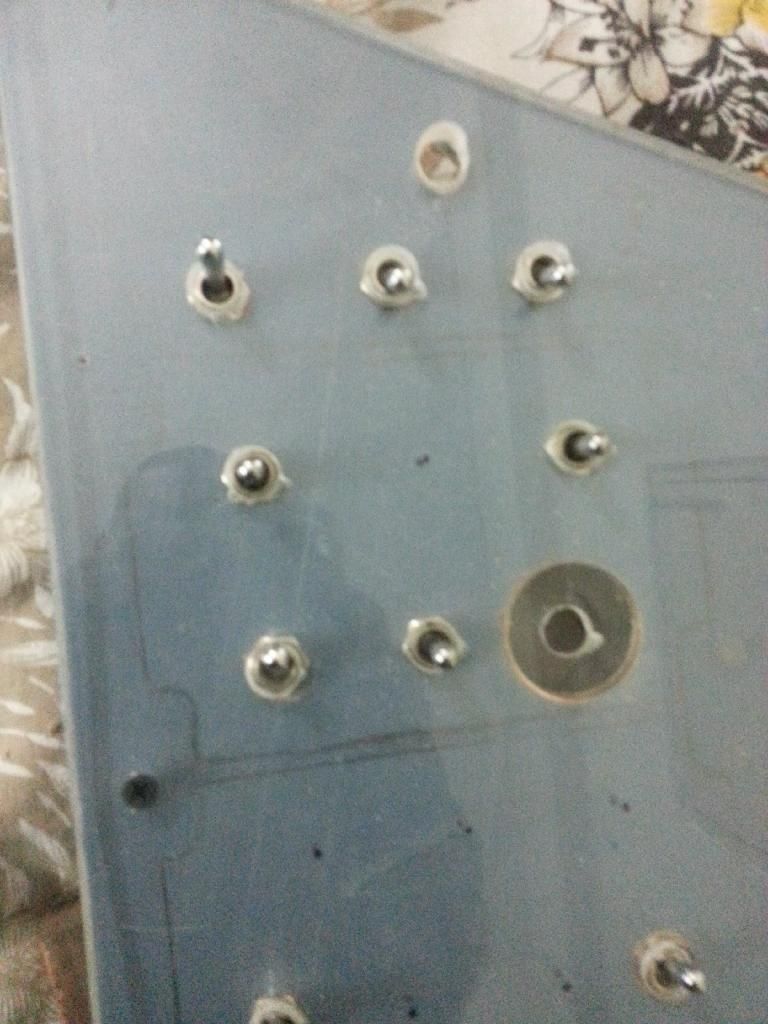
| As per my original plan, the 5mm perspex sheet is intended to overlay on the 5mm plywood base. Theoretically, this planned looked nice, but, despite the overlay being a close fit, the switches appear to embed about 1-2mm below surface of the perspex overlay. I'm not very pleased with that. |
 |
| The 'largish' hole is to accommodate a single pole four way rotary switch |

It was at this point, that the discussion referred in aforementioned thread started, and I temporarily stopped further work with my panels.
Initially, I experimented with a 'laser printed' overlay printed on a transparency, placed on top of the 5mm perspex sheet and testing out backlight. Too much of light passed through the overlay.
I then printed an experimental panel on a normal A4 sized paper as so.
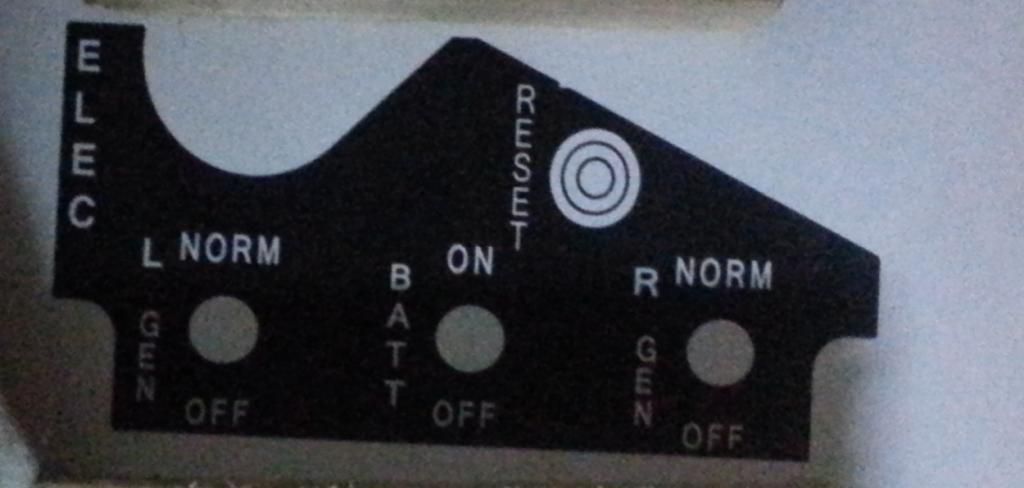 |
| All my pictures are taken on my mobile, since that is most handy while I'm working. This picture was taken in relatively poor light, so apologies for the poor quality. I have cropped the picture to remove unwanted detail. |
I then doubled the number of perspex sheets and tested again.

The effect was now rather pleasing. I'm thinking, when I print out the panel overlay on a professional grade paper, with a professional printing studio, the 'blacks' are going to be darker, and will prevent the the light that is still bleeding through. Disregard the LEDs that are visible on the extra white part of the panel. They are outside the limits of the panel.
The aim is to light up the 'text' on the panel, and the effect on backlighting the text is rather nice.
Now, off to redesign the complete console layout again.
Loads of good info this post! The pictures are really helpful.
ReplyDeleteThe depth of the switch screw threads has caused me some grief as well.